If your RV’s AC isn’t cooling the way it used to, don’t sweat it. The issue might be a dirty filter, and a quick cleaning could be all you need to get things running smoothly again.
Cleaning your RV’s air conditioner filter is a simple maintenance task that even the newest of DIYers can tackle with confidence—and Parts Via is here to walk you through it. Learn why a clean filter is so important for your RV AC, how to maintain it, and when it’s time for a replacement.
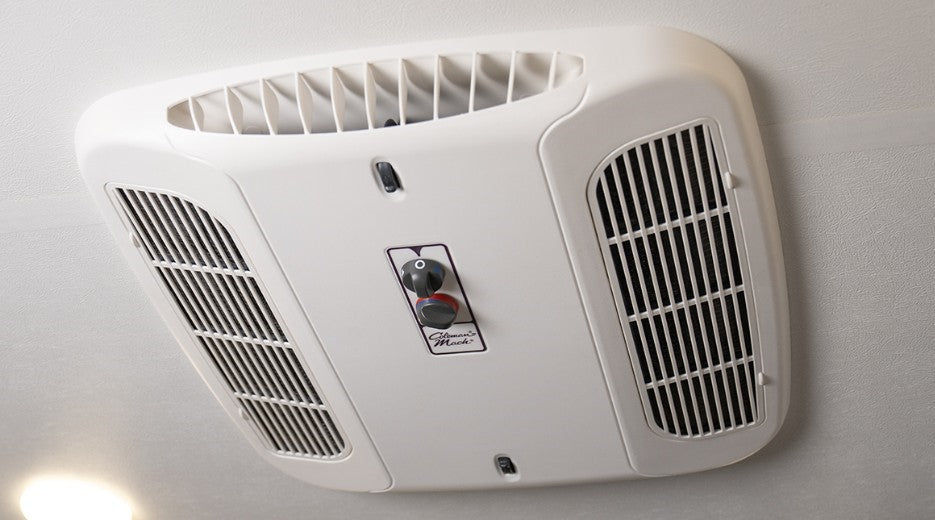
Do I Really Need to Clean My RV AC Filter?
Even though your RV’s air conditioner doesn’t pull in outside air to operate, the interior air that it does work with is jam-packed with more airborne particles than you likely realize. Dust, dirt, pollen, bugs, pet dander—all these allergens are floating around the inside of your RV and, often, the only thing actively working to collect and contain them is a square-foot-sized filter inside your AC.
Now, imagine that filter is clogged with debris. All those particles would begin to accumulate inside the air conditioning system, eventually recirculating into your living space. Yuck! It’s safe to say that yes, you really do need to clean your RV AC filter.
In addition to enhancing the air quality inside your camper, a clean AC filter also boosts airflow. As particles build up, they create a film on the filter’s surface, forcing the AC unit to work harder to draw air through. This reduces overall efficiency, leading to higher energy consumption and less effective cooling—not to mention increased wear and tear on the air conditioner itself.
Different Types of RV AC Filters
Before we jump into how and when to clean your RV AC filter, let’s take a quick look at the different types of filters you might find inside the unit.
While most stock filters are maintained the same way, aftermarket filters are often single-use items. If you’ve purchased your camper second-hand, you’ll want to pay close attention to this next part so you know whether you’re looking at cleaning the RV air conditioner filter or replacing it.
- Foam: Most RV ACs use filters made of a thin and flexible foam material. These are generally black or gray in color and spongy to the touch. While effective at trapping larger particles like dust, bugs, hair, and pollen, the porous nature of foam filters can clog quickly. Thankfully, these filters can be washed with mild soap and water and then be reinstalled after drying.
- Mesh: Another popular option, these filters are made of a fine mesh material that resembles a dryer lint vent. They are more durable than foam filters and usually require less frequent cleaning. Additionally, the mesh material is designed to handle a broader range of particle sizes and generally allows for better airflow even when partially dirty. A quick pass with the vacuum and then a rinse with water is the best way to clean these filters.
- Single-Use: Not to be confused with straightforward OEM-replacement filters, these aftermarket filters are designed to be an upgrade from stock equipment. They are significantly thicker than standard RV AC filters, and are usually white with a thin layer of green or blue “tackifier” on one side. This slightly-sticky surface faces the inside of the AC unit and helps capture microscopic particles, providing much more robust air filtration. The trade-off with single-use filters is that they cannot be washed or reused.
How Often Do I Need to Clean My RV AC Filter?
Depending on the type of filter you have, how frequent you go RVing, and the type of environments you travel to, cleaning your camper’s air conditioner filter might be a maintenance task you perform once a month or once a year. While there’s no hard and fast rule, a good guide to follow is that foam filters should be inspected every 1-2 months and mesh filters every 2-3 months.
Generally speaking, if you notice reduced airflow, increased energy consumption, stale air or strange odors, it’s probably a good time to give your RV AC filter a closer look.
When inspecting, remember that you’re not only looking for dirt and debris, but also tears, holes, or shedding. These are clear signs that it’s time to replace your RV’s AC filter. If you decide to upgrade to a polyester, single-use filter by a brand like RV Air, you should expect to get about 90 days of use before needing a replacement.
How to Clean an RV AC Filter
Now that you understand what type of filter you’re working with, let’s get into the process of how to clean it. As we said at the start, it’s incredibly simple and can be done in just a few minutes.
- Turn Off the AC Unit: The AC unit should not only be off but also at room temperature. This is because the little plastic tabs that hold the AC grille cover in place can become brittle if the unit is cold, and they may break when you depress them.
- Remove the AC Grille Cover: This is the plastic ventilation cover that holds the AC filter in place. Most remove by pressing or pulling on a small plastic tab, but some covers might require some gentle prying with a putty knife to remove them. Like the filters behind them, these covers can get clogged with dirt and grime, so give yours a good cleaning after you remove it.
- Remove the Filter: Carefully remove the filter from behind the grille. Depending on the unit, this could be a foam pad or mesh material, sometimes secured by rubber bands or clips. However the filter is secured, be gentle taking it out to avoid damaging the filter or spreading dust around the cabin.
- Clean the Filter: For mesh filters, run the vacuum’s hose attachment over the surface and then rinse the filter thoroughly. For foam, wash the filter with a mild detergent and some water, then rinse thoroughly and squeeze out the excess water. To sanitize the filter, lightly spray it with a mixture of equal parts vinegar and water.
- Let the Filter Dry Completely: Don’t skip this step! A damp filter can cause mold to grow inside your RV’s AC unit, which could cause further issues.
- (Optional) Add Essential Oils: Some RV owners like to add a few drops of essential oils to their AC filters before reinstalling them, as it leaves a pleasant scent in the camper. Tea tree and eucalyptus oil are well-known for their air purification qualities, but if you have pets, stick to a non-toxic scent like lavender and use a light touch when applying.
- Reinstall the Filter: Line up the clean and dry filter with the grille covering and snap it back into place. You’re now ready to enjoy fresh, clean air the next time you power up the AC!
Keep Your RV’s AC Running Smoothly – Shop Replacement Filters at Parts Via!
Maintaining your RV’s air conditioner is essential for optimal performance and air quality. Regularly inspecting and cleaning your filter will help ensure your system runs efficiently and for a long time to come.
Remember, replacement is inevitable, so when it’s time to swap out your old filter—or if you’re looking to upgrade—explore the high-quality options available here at Parts Via. Keeping your RV’s AC in top shape has never been easier!